

Salesforce SMS is a total win for connecting with your customers, leads, or prospects directly on their phones. With the best bulk SMS app like Message Blink, you can create, automate, and send personalized bulk SMS in Salesforce without coding.
It’s also a powerful tool for Salesforce SMS marketing, helping you engage your audience with timely, personalized messages and automated flows.
This guide walks you through the process of setting up Salesforce bulk SMS, from creating a campaign to monitoring responses, using Message Blink, a top-tier app from the Salesforce AppExchange. Its seamless SMS integration with Salesforce ensures your messaging is synced across your CRM activities.
From creating a campaign to checking replies, we’ve got your back. Let’s jump in!
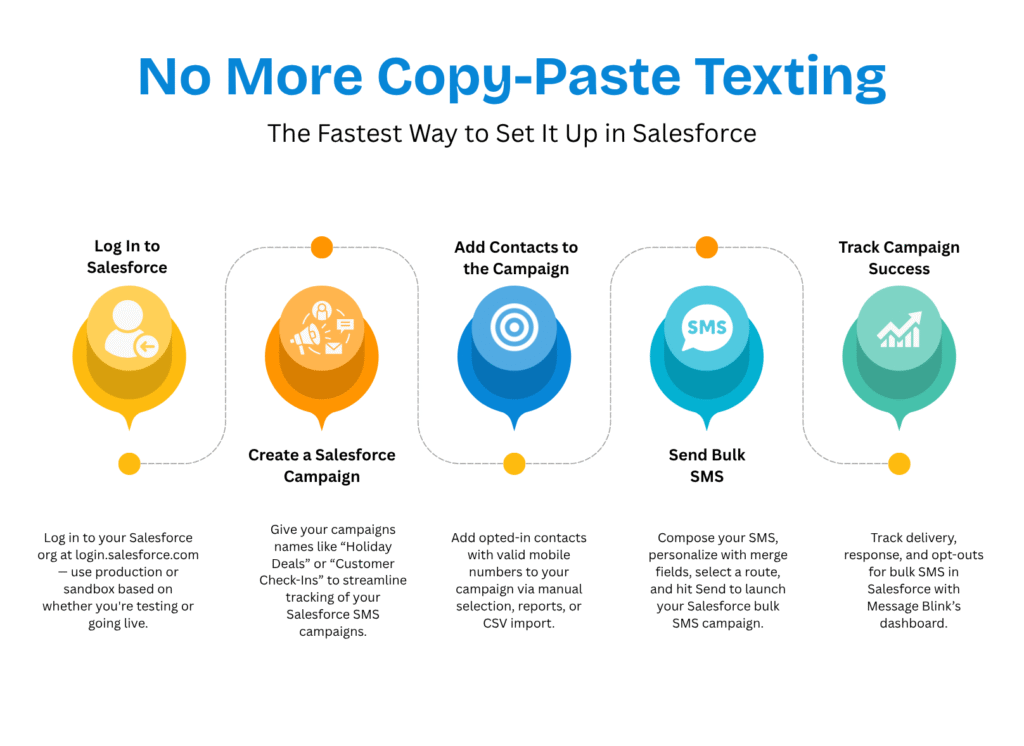
How to Set Up Salesforce Bulk SMS? Step-by-Step Instructions
Step 1: Log In to Salesforce
-
Access Salesforce:
- Go to login.salesforce.com.
- Type in your username and password to log into your Salesforce account.
Pro Tip: Use a production or sandbox environment depending on whether you’re testing or deploying live campaigns.
Step 2: Create a Salesforce Campaign
Salesforce Campaigns are where you organize your SMS recipients in Message Blink. Each campaign can include up to 10,000 contacts. For larger audiences, create multiple campaigns to manage your Salesforce SMS outreach.
-
Navigate to Campaigns:
- After logging in, click the application menu (waffle icon in the top left).
- Type Campaigns in the search bar and select Campaigns.
-
Make a New Campaign:
- On the Campaigns page, click the New button in the top right.
- On the Campaigns page, click the New button in the top right.
-
Set Up Your Campaign:
- Campaign Name: Pick something it clear, like “2025 Summer Sale” or “Event Reminders.”
- Check the Active box to turn the campaign on.
- Set Type to SMS (or a custom type relevant to your org).
- Set Status to In Progress.
- Save the Campaign
Pro Tip: Give your campaigns names like “Holiday Deals” or “Customer Check-Ins” to streamline tracking of your Salesforce SMS campaigns.
Step 3: Add Contacts to the Campaign
To send bulk SMS messages in Salesforce, populate your campaign with contacts who have valid mobile numbers. Message Blink supports multiple methods to add contacts:
-
Manual Addition:
- Open your campaign and select Add Members to choose contacts or leads one by one.
- Open your campaign and select Add Members to choose contacts or leads one by one.
-
Add from a Report:
- Create a Salesforce report targeting your audience (e.g., “Leads with Valid Mobile Numbers”).
- Click the Add to Campaign button in the report to add those contacts.
-
Import a CSV File:
- Use Salesforce’s Data Import Wizard to upload a CSV file with contact info.
- Ensure mobile numbers are included and mapped correctly to the campaign.
For detailed steps, refer to Salesforce’s Adding Contacts to a Campaign guide.
Note: Verify that all contacts have provided explicit opt-in consent to comply with SMS regulations like TCPA or GDPR.
Step 4: Send Bulk SMS with Message Blink
Now that your campaign’s ready, it’s time to use Message Blink to send those personalized bulk SMS messages in Salesforce. The app simplifies Salesforce text messaging, letting you engage in two-way communication directly inside your CRM.
-
Open Message Blink:
- From the Salesforce application menu, type Message Blink in the search bar and select the Message Blink app, available via the Salesforce AppExchange.
- From the Salesforce application menu, type Message Blink in the search bar and select the Message Blink app, available via the Salesforce AppExchange.
-
Access the Bulk SMS Feature:
- Navigate to the Bulk SMS tab in Message Blink’s navigation bar.
- You’ll see the SMS Recipients count start at 0.
-
Select Your Campaign:
- Search for the campaign you made in Step 2.
- Once you select it, the SMS Recipients count will show how many contacts have valid phone numbers.
-
Write and Send Your Text:
- In the Message field, type your SMS or select a pre-built SMS Template. Keep it short—Standard SMS messages are limited to 160 characters.
- Example: “Hey {!Contact.FirstName}, join our big sale on {!Event.Date}! Text YES to RSVP.”
- Select a Messaging Route (like Route A or Route B for bulk SMS). Each route can handle up to 10,000 contacts. For larger campaigns, split into multiple sends.
- Click Send to launch your Salesforce bulk SMS campaign.
Pro Tip: Use merge fields to personalise your Salesforce SMS and get more replies. Always check your message to make sure it is in character limits.
Step 5: Monitor and Respond to SMS Messages
Message Blink makes it easy to see how your campaign’s doing and manage two-way interactions, all inside Salesforce.
-
Check Incoming Messages:
- Message Blink’s Notification Center shows up in the bottom left of your Salesforce screen, blinking when you get new SMS replies.
- Message Blink’s Notification Center shows up in the bottom left of your Salesforce screen, blinking when you get new SMS replies.
-
Review Conversations:
- Click a notification to go to the Contact record and open the Message Blink Live Inbox.
- Here’s what you can do:
- View the Text History: Review the full log of sent and received messages.
- Reply to Texts: Send a quick response right from the contact record.
- Check Consent:
- SMS Consent Status: Shows if the contact’s cool with texts (like if they texted “START” or “SUBSCRIBE”).
- Opt-Out Status: Automatically updated if the contact replies “STOP” or “UNSUBSCRIBE.” Do not manually edit this field.
- Verify Phone Numbers:
- Mobile Number: The contact’s phone number, usually pulled from systems like CRMs or other tools.
- Message Blink Number: Auto-filled from the Mobile Number field. Avoid modifying this field.
-
Track Campaign Success:
- Use Message Blink dashboard to analyze metrics like delivery rates, response rates, and opt-out trends for your Salesforce bulk SMS campaigns.
- Make a custom dashboard to see cool stats, like total texts sent or reply rates.
Note: Regularly monitor opt-out statuses to ensure compliance and maintain a positive recipient experience.
To learn how to send SMS using Salesforce, read this guide.
Troubleshooting Common Issues
If you encounter issues while setting up or running your bulk SMS campaign with Message Blink, try these solutions:
-
Campaign Not Loading in Message Blink:
- Solution: Ensure the campaign is marked Active and contains contacts with valid mobile numbers. Check that your Message Blink app permissions are correctly assigned in Salesforce Setup > Users > Permission Sets.
- Solution: Ensure the campaign is marked Active and contains contacts with valid mobile numbers. Check that your Message Blink app permissions are correctly assigned in Salesforce Setup > Users > Permission Sets.
-
SMS Fails to Send:
- Solution: Verify that your Messaging Route is active and linked to a valid phone number. Confirm your Message Blink subscription is active and, if using an API key, ensure it’s authorized. Check for carrier restrictions or invalid mobile numbers in your campaign.
- Solution: Verify that your Messaging Route is active and linked to a valid phone number. Confirm your Message Blink subscription is active and, if using an API key, ensure it’s authorized. Check for carrier restrictions or invalid mobile numbers in your campaign.
-
No Notifications for Incoming SMS:
- Solution: Ensure the Notification Center is enabled in Message Blink settings. Check that your Salesforce user has access to the Message Blink app and that contacts are replying to the correct phone number.
- Solution: Ensure the Notification Center is enabled in Message Blink settings. Check that your Salesforce user has access to the Message Blink app and that contacts are replying to the correct phone number.
-
Merge Fields Not Populating:
- Solution: Confirm that the merge fields (e.g., {!Contact.FirstName}) match the exact field names in your Salesforce org. Test the template with a single contact to verify data mapping.
- Solution: Confirm that the merge fields (e.g., {!Contact.FirstName}) match the exact field names in your Salesforce org. Test the template with a single contact to verify data mapping.
-
High Opt-Out Rates:
- Solution: Review your message content for clarity and relevance. Ensure opt-in consent was obtained before sending. Include clear opt-out instructions (e.g., “Reply STOP to unsubscribe”) to avoid confusion.
Need Help? Contact Message Blink support at [email protected] or visit their website for detailed troubleshooting guides.
Best Practices for Salesforce Bulk SMS with Message Blink
- Segment Audiences: Use Salesforce reports or list views to target specific groups (e.g., “High-Value Leads” or “Event Registrants”) for better results.
- Automate the Flows: Integrate Message Blink with Salesforce Flow to trigger SMS based on events, like sending a reminder when an opportunity stage changes.
- Watch the Limits: Each Messaging Route can send up to 10,000 contacts at a time. Plan bigger campaigns with multiple sends.
- Ensure Compliance: Secure explicit opt-in consent and include clear opt-out instructions (e.g., “Reply STOP to unsubscribe”) in every Salesforce SMS.
- Test Campaigns: Send a test SMS to a small group to verify content and delivery before scaling up your bulk SMS messages in Salesforce.
Use data from customer support interactions and customer data analytics to personalize each message. Consider combining Message Blink with Marketing Cloud Engagement for deeper digital engagement campaigns. Through advanced salesforce integrations, you can trigger messages based on user actions, keeping your communication timely and relevant.
Why is Message Blink the Best Salesforce SMS App?
Message Blink, available on Salesforce AppExchange, is a top-notch Salesforce Native SMS messaging app that offers:
- Fits Right In: Works like a charm with Sales Cloud, Service Cloud, Marketing Cloud, and more, across Salesforce editions like Professional, Enterprise, and Unlimited.
- Super Easy to Use: Makes setting up and running campaigns a piece of cake.
- Cool Extras: Supports MMS, WhatsApp, and powerful analytics for your Salesforce SMS.
- Keeps You Legal: Built-in opt-in/out tools help you follow US rules.
Looking for the best Salesforce SMS App? Check out our comparison
That’s it! You’re all set to start SMS campaigns in Salesforce using Message Blink like a pro.
Conclusion
With Message Blink, sending Salesforce bulk SMS is straightforward and impactful, enabling you to connect with your audience in a personalized, efficient way. By logging into login.salesforce.com, creating targeted campaigns, adding contacts, sending messages, and tracking responses, you can elevate your CRM outreach—all within Salesforce.
Ready to get started? Install Message Blink from the Salesforce AppExchange and explore its powerful features.
For salesforce sms pricing or support, visit Message Blink’s website or contact their team. Start sending impactful bulk SMS messages in Salesforce today!
See Also: Related Resources for Salesforce SMS
To help you get the most out of Salesforce SMS, explore these detailed guides and resources:
-
Best SMS App for Salesforce
Discover the top native Salesforce SMS apps, including Message Blink, with feature comparisons and benefits to streamline your SMS workflows. -
Twilio Salesforce Integration
Step through the process of integrating Twilio with Salesforce for powerful SMS automation and campaign capabilities. -
Salesforce SMS Pricing
Get transparent details on pricing structures for Salesforce SMS solutions, covering platform fees and app costs to plan your budget. -
WhatsApp Integration Salesforce
Learn how to unify WhatsApp and SMS messaging in Salesforce for seamless multi-channel customer communication.